

Ever had that heart-sinking moment when your game freezes right in the middle of a match? Instead of letting frustration win, we’ve got a three-step fix to get you back in the game sooner.
First, we run a quick check to spot any small glitches. Then, our expert team takes over, keeping you updated along the way. Our techs treat your setup like it’s their own prized controller, making sure it's ready when you are.
Ready to dive back into play? Let’s get your gear back in shape with speed and confidence.
Comprehensive Gaming Systems Repair Solutions
Our repair service starts with a free digital console diagnostic check that every gamer can count on. It’s a no-cost step where we quickly spot if your console can be fixed and show you the repair options up front. Fun fact: our free diagnostic often finds easy fixes that boost performance right away.
Our certified tech experts handle every repair with care. They work hard to get fast, reliable results and keep you in the loop at every stage, from the first check to the final repair. It’s like having a personal game coach who updates you on every move.
You can choose the repair method that suits you best. If you like the mail-in option, pack your console securely and include your contact details so we can get back to you once it arrives. If you prefer a hands-on approach, drop by our shop for an in-person diagnostic check that gives you quicker answers. Both choices make it simple and clear to know what repairs or tweaks your system might need.
Every repair comes with a standard 30-day warranty. Base prices start at $199.99 for PlayStation 5 repairs and $124.99 for PlayStation 3, Xbox 360, and retro consoles. Just remember that final quotes might shift based on the issues found and part costs. But no worries, we keep you updated as we examine every component, making sure you’re back in the game as soon as possible.
Step-by-Step Console Repair Instructions for PS5, Xbox, and Switch
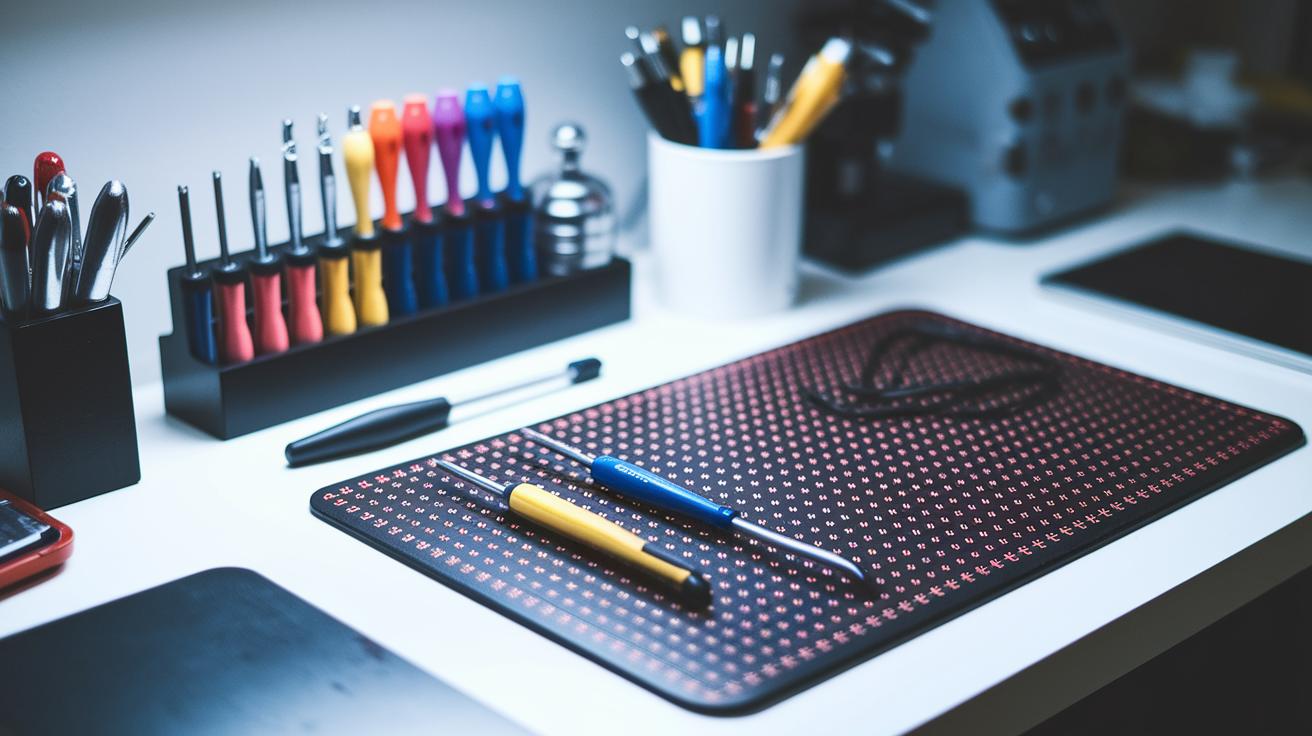
Before you start, set up a neat and safe workspace. Make sure you have plenty of light and an ESD-safe mat (one that stops static from zapping your sensitive parts). Keep your tools handy and work in a quiet spot so you can really focus.
- Precision screwdriver set
- Plastic pry tools
- ESD-safe mat
- Tweezers
- Small containers for screws and parts
- Replacement fans or cables (if needed)
- Multimeter for checking circuit boards
-
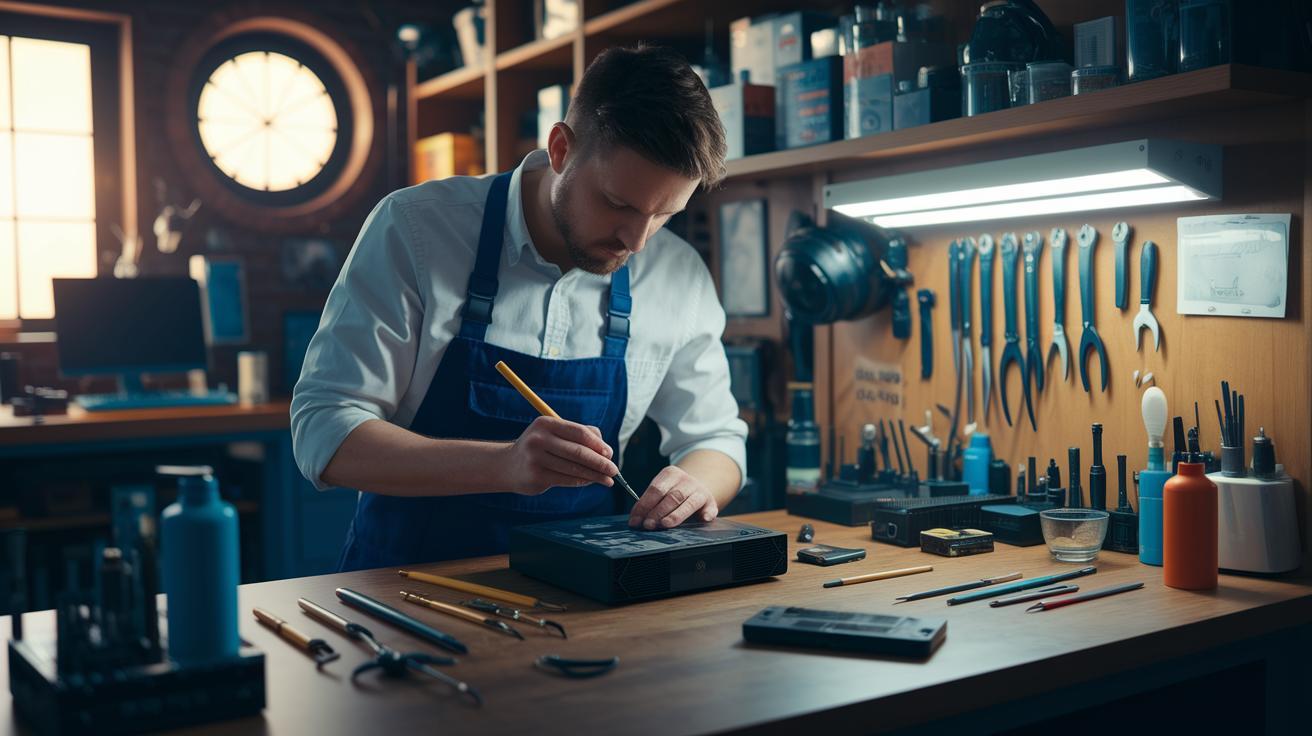
First, take off the console’s outer shell. Whether you’re fixing a PS5 or overhauling an Xbox, begin by unscrewing the panels at the back and bottom. Pop each screw into your small container and mark where it came from. Then, gently pry open any clips to lift the casing. Think of it like unlocking a puzzle box, it gives you a clear view of the inner workings so you can plan your next move.
-
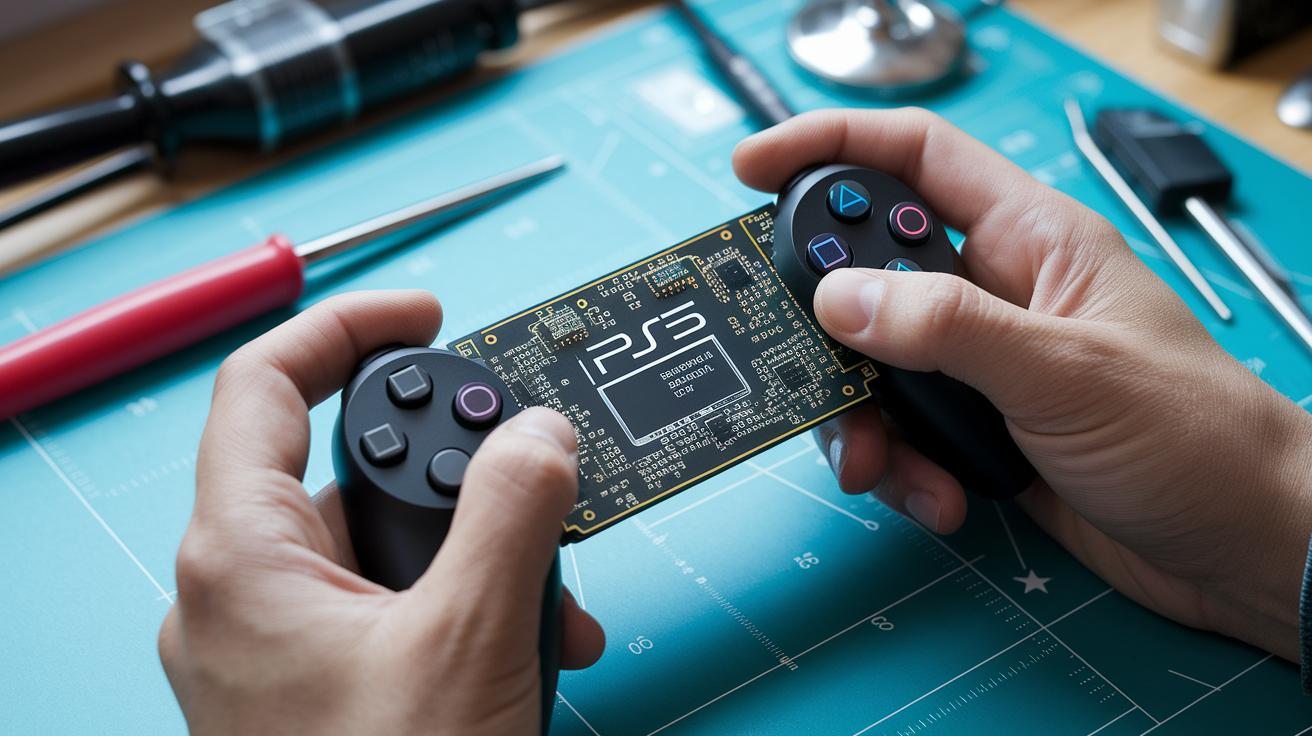
Next, get to the main board. This step is super important if you’re doing component-level repairs or micro-soldering (fine-tuning small parts on the board). Carefully disconnect the connectors and remove any shields protecting delicate areas. Take your time so nothing gets lost. If you hit a snag, check out model-specific guides (like those for RC397HM or RC897T) because every console has its own wiring secrets.
-
Finally, replace any bad parts and put the console back together. Remove the faulty piece, whether it’s a fan, controller port, or a part of the circuit board, and solder in the new one if it needs it. After checking that all the connections are tight, snap the board back in place and close up the shell. Plug everything back in, test your console to make sure it’s working right, and tidy up your workspace.
Diagnosing and Troubleshooting Common Hardware Failures in Gaming Systems
Ever have your console act up? When your system throws out strange signals or refuses to show an image, it's sending you a warning. Imagine your PS3 giving off three beeps and that red light flashing, while your PS4 might turn on but display nothing. These little hints are your first clues. Spotting what’s wrong helps you decide if it’s a wonky HDMI port or maybe a bad dab of thermal paste causing the trouble.
| Issue | Console Model | Probable Cause | Quick Fix |
|---|---|---|---|
| No Image | PS4 | Faulty HDMI port | Reconnect or replace HDMI cable |
| No Power | Xbox Series X | Defective power supply (bad thermal paste) | Clean internals and reapply thermal paste |
| Three Beeps/Red Light | PS3 | Internal board issue | Inspect connectors and resolder if needed |
| Connectivity Loss | Nintendo Switch Joy-Con | Loose controller board | Reseat or secure connectors |
Sometimes, the quick fixes just don’t do the trick. When the simple steps fail, you might need some in-depth diagnostic tools to get to the heart of the problem. These tools run deep checks on your system, spotting sneaky faults that a quick glance can miss. They help you see if a single faulty component is messing with your entire console. Taking that extra step often saves you from bigger headaches down the road. And if you’re ever stuck, why not let a pro take a peek? That way, your gaming sessions stay smooth and fun.
Professional Repair Services: How to Choose and What to Expect
Ever had your game system glitch out at the worst possible moment? When that happens, quick and dependable fixes are a lifesaver. Lots of repair pros offer a variety of options like mail-in repairs, walk-in visits, or even a mobile service that comes right to your door. These certified technicians know their stuff, whether it’s fixing an Xbox, PlayStation, or an old-school console, and they make sure to use parts straight from the manufacturer. A friend once told me about a tech who got his PS5 back in action in no time while keeping him updated every step of the way.
Local repair shops really get it too. You can either drop off your console for an in-person check or choose a mobile service for that extra convenience. While repair times can vary, the best places always keep you posted about what’s happening. They’ll give you a firm repair estimate before any work begins, so there are never any unexpected surprises.
When it comes to warranties, make sure to ask what’s covered. Most repairs come with a short warranty period, but you might have the option to extend it. And always double-check that they’re using authorized parts, this means your fix is genuine and built to last. In the end, having a repair service that stays in touch until your system is back up and running makes all the difference, so you can jump right back into your next gaming session.
Maintenance and Preventive Care for Prolonged Console Lifespan
Regular care is key to keeping your console running strong. For about $99.99, you can get a professional cleaning that zaps away stubborn dust, clears fans and vents of buildup, and lubricates parts to cut down on friction. This deep clean should happen every 6 to 12 months to help prevent overheating and keep everything moving smoothly. Think of it like giving your console a tune-up, kind of like cleaning your room to make space for new gear.
If you prefer a DIY approach, a home cleaning can work wonders too. First, unplug your console and use an ESD-safe tool (one that stops harmful static) to sweep out loose dust. Take a good look at the cooling fans and think about replacing them if they show signs of wear. Keeping the vents free from blockage also helps boost airflow. Keeping up with these simple steps now can mean fewer shutdowns later and a longer life for your console, keeping it ready for many more epic gaming sessions.
Cost Estimates, Warranty Options, and Service Guarantees for Gaming Systems Repair
Our basic repair plan has set prices: $199.99 for fixing your PS5 and $124.99 for repairing PS3, Xbox 360, or retro consoles. We also throw in a free diagnostic check to catch common issues like no power or screen glitches. Prices might vary based on which parts and how much work your console needs. For example, if your display is acting weird, we’ll tell you the full cost right off the bat.
This basic fix also comes with a 30-day warranty, covering most repairs. It’s ideal for gamers who want a budget-friendly solution without any hidden surprises.
If you’re in a hurry, you can opt for our Express/Same-Day Repair for an additional fee. We also offer extended warranty options for extra peace of mind. So, when every minute counts, go for express service, and add the extended warranty to keep your system running smoothly for longer.
Step-by-Step Console Repair Instructions: Advanced Techniques
-
Check the circuit board for spots that might need micro-soldering. If the board has a cramped layout, gently warm the solder joints with a soldering iron that has micro-soldering tips while adding some flux (a liquid that helps solder flow).
Example: Try a small test first, before working on a critical joint, test your heat settings on an unused area to make sure your technique works. -
Remove any bad components by softly heating the solder joints until they loosen. Use ESD-safe tweezers (tools that protect sensitive electronics from static) to lift the parts without disturbing the surrounding ones.
-
When installing new components, reflow the solder joints and spread a smooth layer of thermal compound (a substance that helps control heat) over them. Then, check the board with a multimeter to ensure the electrical connections are solid.
Example: Think of it like a pro gamer’s timing in a clutch move, a steady hand makes all the difference. -
If the board still acts up or the software glitches, try a firmware reset to bring the system back to its original settings. This step can fix issues that go beyond simple soldering.
Example: Just like refining your strategy when a game isn’t going your way, a firmware reset might be the quick fix you need to clear glitches and get back in the game.
Final Words
In the action, we broke down everything from free diagnostics to detailed console teardown tips. We talked about when to trust a pro and when a DIY fix might save your day. Each section showed straightforward steps for gaming systems repair, keeping you in control of your game. The guide wraps up practical advice, fair pricing details, and essential maintenance tips. Ready to get back in the game? Stay sharp, follow the steps, and keep leveling up your play!
FAQ
Where can I find local game console repair services?
The search for local game console repair services points to nearby repair shops and technicians. These providers often offer free diagnostics, transparent updates, and a 30-day warranty on repairs.
How much does gaming systems repair cost?
The cost of gaming systems repair typically starts around $124.99 for older consoles, rising to about $199.99 for newer models like the PS5. Prices vary by issue and parts needed.
What do you call someone who fixes game consoles and where can I find their services?
The term for someone who repairs game consoles is a repair technician. You can find them at dedicated repair shops and retro console specialists offering professional, warranty-backed fixes.
What is a game console repair school?
A game console repair school trains students in hands-on repair methods, teaching diagnostics, component replacement, and safety practices needed to maintain gaming systems expertly.
Is repairing consoles worth it?
Repairing consoles can be worth it when fixes are cost-efficient and extend your system’s life. It saves you money and keeps your favorite gaming gear running with professional service quality.
Does Best Buy fix game systems?
Best Buy often fixes game systems through certified technicians in their service centers. Their repair services include clear progress updates, free diagnostics, and standard warranty coverage policies.
What is the easiest gaming console to repair?
The easiest gaming console to repair tends to be models with a user-friendly design and accessible parts, such as many retro consoles or certain Xbox versions, making disassembly and component replacement simpler.