

Ever miss that insane play you just pulled off? Recording your live stream highlights can hook more viewers and even boost your earnings.
Think of each epic moment like finding a rare loot drop, those clips are golden and keep fans coming back long after your stream ends. There are super simple ways to capture your top moves. You can use popular software with replay tools (they record your highlights automatically) or try out quick, hassle-free tools on your computer.
Ready to turn your live action into highlight reels that keep your audience hyped? Let’s dive in and make every play count.
Live Stream Highlight Recording Essentials
Recording highlights from your live stream is a smart way to catch a bigger crowd and earn some extra cash. It also lets fans catch those epic plays they missed while you were live. Think of it like turning your best game moments into nifty clips that boost community buzz. Capturing your top in-game action can reignite interest and open up new revenue streams through replays and promo clips.
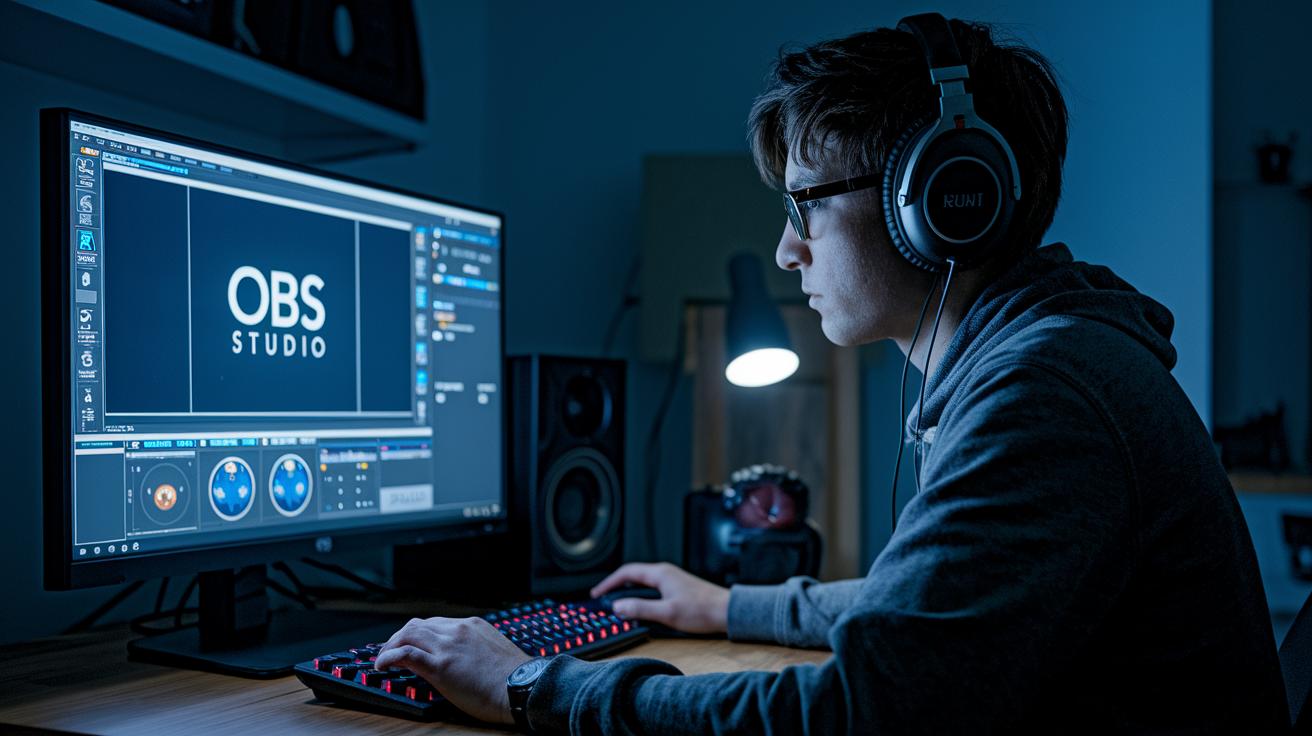
There are three cool ways to record these moments. First, you can use streaming software such as OBS Studio, Camtasia, Movavi, or FlashBack Pro. These programs come with replay buffers (a tool that automatically saves recent gameplay) and timeline editing, letting you record your session in high quality.
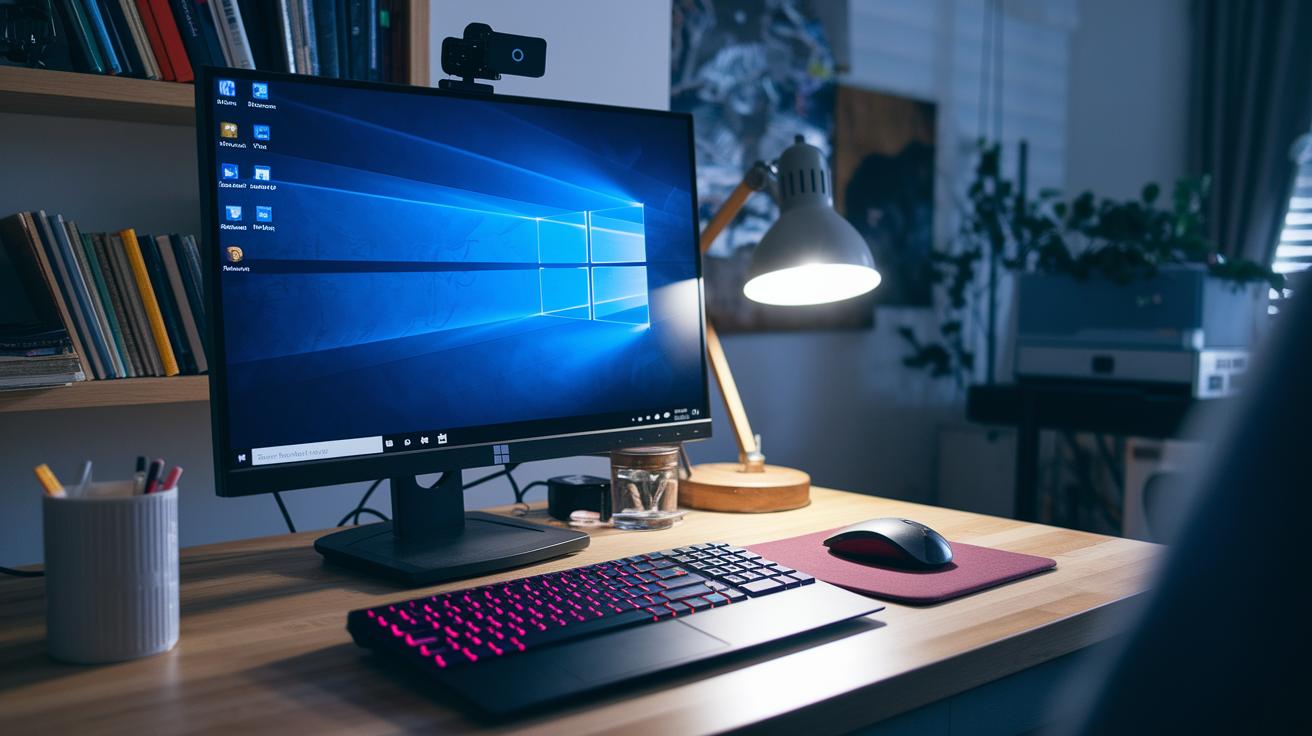
Next, consider using built-in tools on your computer. Windows Game Bar (Win+G) or macOS Screenshot (Shift+Command+5) offers a fast, hassle-free way to grab those on-the-fly plays. These tools are perfect when you need a quick fix with minimal setup.
The third method is to check out specialized services like Restream Studio that auto-record streams in a record-only mode. This means you can test your settings without actually going live. And if you’re looking for the highest quality, hardware encoders deliver pro-level live capture for those ready to invest a bit more.
At the end of the day, choosing the right recording method depends on what you need and your budget. Streaming software is great if you want full control and lots of features, while built-in tools are awesome for simple, budget-friendly action. For heavy hitters with high capture demands, specialized services or hardware encoders might just be the perfect loadout for your gaming setup.
Comparing Highlight Recording Software for Live Streams
When you're picking a recording tool for your live streams, it's smart to look at the price, the cool features, and whether you can test it out first. Some of these tools let you edit in detail and even offer a replay buffer (a way to save moments automatically), while others let you grab quick clips in no time. Whether you're just starting out and want something simple or you're a pro needing more options, there's something here for everyone. Here's a quick look at five popular choices:
| Software | Price Model | Key Features | Trial |
|---|---|---|---|
| OBS Studio | Free | Open-source, replay buffer, hotkeys, network drive recording | N/A |
| Camtasia | Paid | Built-in editor, MP4 export, robust editing suite | Free trial |
| Movavi | Subscription | Simple interface, basic trimming, easy sharing | Free trial |
| FlashBack Pro | One-time purchase | Timeline editing, watermark-free trial, smooth playback capture | Watermark-free trial |
| Snagit | Paid | Screen/window/custom region capture, cropping, audio capture | Free trial |
When choosing your recording software, think about what fits best with how you work and your budget. If you want total control without spending a dime, OBS Studio is a great pick. But if you need built-in editing for a polished video, Camtasia is worth the cost. For those who prefer an easy, straightforward tool, Movavi or FlashBack Pro might be the perfect match. And if you need super-precise region capture and quick edits, Snagit is hard to beat. So, what matters most to you, price, features, or trying before buying?
Using Built-In Tools and Streaming Services for Recording Highlights
Ever miss that epic game-winning move? Here are some super simple ways to capture your best moments without fuss.
-
Windows Game Bar
Press Win+G to open the game menu. Hit record, then stop when it's time to save that clutch play. Imagine snapping that critical win in just a few taps. -
macOS Screenshot Tool
Use Shift+Command+5 to pop up your capture menu. Select the part of the screen you want and hit record. It’s like a quick click-and-capture for your most epic moments. -
Restream Studio Auto-Record
Log into Restream Studio, switch on auto-record, and stream away. Your gameplay gets saved automatically in Video Storage, no extra work needed.
Each of these options is built for ease and control. Pick the method that vibes with your style and relive your best gaming highlights anytime.
Hardware Encoders and Pro-Level Capture Setup for Live Highlights

When you're live streaming and want the best quality with no lag, hardware encoders are your go-to. These devices grab 4K60 footage through HDMI or SDI inputs (HDMI: your standard video cable; SDI: a pro-grade video connector) so you capture all the action without interruption. They take the heavy work off your PC, meaning you get smooth, low-latency, clear recordings every time.
For a pro setup, you need a few key pieces of gear. Start with a standalone encoder from trusted names like Blackmagic or AJA that can handle fast inputs. Pair it with an external SSD or RAID storage system (RAID: a method to combine multiple drives for speed and backup) to smoothly manage the heavy data flow. Make sure your PC is ready with at least 8GB of RAM, an Intel i7 or better, and plenty of storage or cloud backup options. This way, your live capture stays high quality without overloading your computer, you can just focus on the game or your presentation.
For longer recordings, storage management becomes super important. Use high-capacity drives or set up a RAID system to keep things running without interruption during big file transfers. Always check that you have enough free space, and consider cloud storage as a backup to safely archive your broadcasts.
Automating Highlight Extraction and Clip Generation from Recordings

Automating highlight extraction changes long recordings into shareable clips, saving you loads of time. Tools like OBS Replay Buffer, Camtasia, Snagit, and Restream help you grab those unforgettable game moments without spending hours at the editing table. Think of automation as your extra set of eyes, always ready to catch those epic plays, like having a built-in editor on standby.
With OBS Replay Buffer, you decide how long the buffer should be, say, 30 seconds, so it’s always ready to capture the action right before a game-changing move. You can even assign hotkeys to save the moment instantly. Imagine being deep into a match and needing to save your best move with just one key press. It’s a setup that makes sure you never miss that nail-biting moment right before victory.
In tools like Camtasia and Snagit, you import your recording, trim exactly what you need, and then export it as a neat MP4 clip. Meanwhile, Restream works a bit differently by automatically creating clips once your stream ends, ideal for a quick game recap. Many of these editors also let you work with multiple audio and video tracks at once, so you can polish several clips in one go. It’s as simple as setting your timeline, trimming carefully, and hitting export.
Finally, keep all your segments handy by organizing them into clearly labeled folders. This small step helps keep your final edit smooth and hassle-free.
Best Practices and Troubleshooting for Recording Live Stream Highlights

When you're recording your highlights, keep an eye on your CPU and GPU usage to dodge dropped frames. Set your bitrate around 4–6 Mbps for 1080p so everything stays smooth. Also, update your GPU drivers if needed, check for any hotkey mix-ups, and tweak your resolution to keep frame rates steady. Using an external drive can really help, you want to have at least 20% free space to keep video capture snappy.
Before you go live, do a quick test run. Record a few scenes to make sure your audio syncs with your video, and double-check your scene layout for any glitches. Afterward, run a quick recap of your session to verify that all the essentials are in place and consider backing up your work with a secondary recording tool if needed. And don’t forget to stick with file versioning to keep your edits safe.
Final Words
in the action, recording live stream highlights boosts your reach and keeps your community buzzing. We covered three main methods, software, built-in tools, and hardware setups, to fit different budgets and needs. You got a solid compare-and-contrast of top tools, plus tips on automating clip creation and troubleshooting common issues. With these insights, you'll soon master how to record live stream highlights and bring more energy to your gameplay. Keep pushing forward; better plays and epic wins are just around the corner.
FAQ
How do I record live stream highlights on an iPhone?
Recording live streams on an iPhone involves using the built-in screen recorder or a third-party app that captures video and audio in real time, making your favorite moments ready for sharing.
How do I record live streaming video on Android devices?
Recording live streams on Android means using a reliable screen recorder from the Play Store, which captures game clips and video highlights smoothly for editing and sharing later.
How do I record live stream highlights on YouTube?
Recording YouTube live stream highlights means using screen capture software that grabs and saves the dynamic moments on-screen, letting you create shareable clips from your favorite live sessions.
How can I record live stream highlights on a TV?
Recording highlights on a TV involves using an external capture device connected via HDMI or a smart TV app that records the broadcast, ensuring you save the best gaming or streaming moments effortlessly.
How do I record live stream highlights on Windows 10 or Windows 11?
Recording on Windows 10 or 11 is done through tools like the Windows Game Bar or third-party software, offering quick recording and easy clipping of your stream’s most exciting segments while maintaining performance.
How can I record shows that are streaming?
Recording streaming shows means using screen capture software to directly save the video and audio output from your streaming service, ensuring you have a ready-to-watch highlight reel for later review.
How do I record and live stream an event simultaneously?
Recording and live streaming an event is done by employing streaming software that offers a record mode alongside live broadcasting, which lets you capture the event in real time and later produce highlight reels.
How do I clip a live stream?
Clipping a live stream means using hotkeys or in-app features to isolate and save a short video segment from the live broadcast, so you capture the most action-packed moments without recording the entire stream.
How do I record an OnlyFans live stream?
Recording an OnlyFans live stream involves using screen recording apps that capture content directly from your display while following legal and privacy guidelines, ensuring quality output of your live content.
What recording software works best for live stream highlights?
Utilizing recording software like OBS Studio, Camtasia, or Snagit provides intuitive features for capturing, editing, and saving live stream highlights, letting you choose a tool that fits your workflow and budget perfectly.