
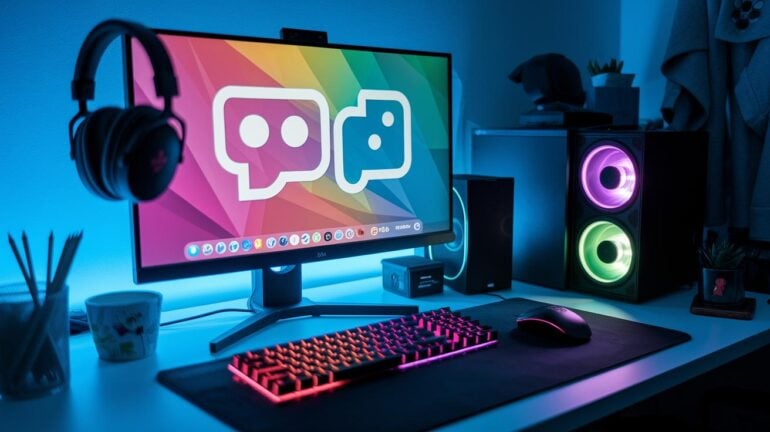
Ever feel like your stream could use a little extra spark? Adding Twitch alerts in OBS is the secret sauce to boost your gameplay vibe. Each alert pops up on screen with cool animations that keep your viewers locked in on every move. A bunch of streamers say this trick really levels up their live streams. In this guide, we’re going to show you how to mix these tools so your broadcast feels exciting and every moment plays out like that epic, game-winning move.
Quick Integration of Twitch Alerts into OBS
First, link your Twitch alerts with OBS Studio so your viewers never miss out while you play. It's a breeze, just a few quick steps and you'll have notifications lighting up your stream like magic. Over 20,000 streamers already swear by this setup to boost their live broadcasts.
- Log in to your Twitch account and head over to Creator Studio in your account settings. It’s like unlocking a secret level, easy to find and ready to go.
- Inside Creator Studio, click on Alert Box under Preferences. You'll see a clean, neat layout that’s super user-friendly.
- Pick a new alert or use one you already have, then copy the Browser Source URL it gives you. Think of it as snagging the perfect key item.
- Open OBS Studio and add a new Browser Source. Paste in the URL from Twitch, almost like fitting the final piece of a puzzle.
- Tweak the size and spot of your alert in OBS until it looks just right. It's like customizing your game overlay so everything matches perfectly.
Finally, jump to OBS’s Preview mode to see everything in action. You can even run a test alert from Creator Studio to check that it pops up smoothly. This simple setup keeps your stream lively and makes sure your viewers are always in the loop.
Customizing Twitch Alert Types in OBS
Customizing your alerts lets you shape your channel’s vibe in a fun, personal way. You can switch up images, text, duration, positions, and sounds so that every shout-out, tip, or cheer feels like it was made just for you and your community.
Follower Alerts Setup
For follower alerts, choose a custom image URL that matches your channel’s look. Write a friendly thank-you message that pops up instantly, and set the alert duration so it doesn’t linger too long. Place the overlay where it won’t block the game, try putting it in the top-right corner during action-packed moments.
Subscription Alerts Setup
Subscription alerts can ramp up the excitement. Use different images that change with each subscriber level to show off your loyal fans. Add some loyalty animations (think of these as mini celebrations) and adjust the sound so it’s just right. Every new subscription should feel like a mini win.
Cheers and Bits Alerts Setup
For Cheers and Bits alerts, link different Bit thresholds with unique animations and sounds. Set up a smooth animation for lower values like 100 Bits and a big, explosive effect for higher amounts like 1000 Bits. This way, every bit of support keeps your audience pumped.
Donation Alerts Setup
When it comes to donations, connect your payment platforms and choose the right currency options for your fans. Customize the alert animations and text so that each donation truly stands out. Tweak the display time so every donor feels the love and your channel stays buzzing with appreciation.
Installing OBS Sound Alerts Plugin for Twitch
OBS Sound Alerts is a free tool that supercharges your stream. It gives you custom sound alerts, cool overlay scenes, and even a built-in soundboard. Plus, it has Text-to-Speech (which means your alerts can literally talk, just like you) so every alert feels personal. Fun fact: the plugin was whipped up in just a few weeks to add a whole lot of interactive magic to every streamer's setup.
Getting started is a breeze. Download the plugin, fire up OBS Studio, and follow the video guide that comes with it. In under 10 minutes, you'll be all set to go. You get to tweak settings like how long an alert stays on screen and how your overlays look, kind of like adding the perfect power-up to your stream.
The extras make a big difference too. With features like Text-to-Speech and a bunch of preset scene options, you can really fine-tune the voice and look of your alerts to match your channel's vibe. It's all about making your live stream as engaging and personal as that perfect gaming moment.
Optimizing OBS Alert Appearance and Audio for Twitch Streams
When setting up your overlay, try to cover between 30% and 70% of the screen at a 1920×1080 resolution. This way, your alerts really stand out without blocking key parts of the game. Think of these alerts as a little boost to your stream’s style. Place them so that they don't steal the spotlight from your gameplay but are still easy to see. And if you're using custom CSS and notice something off, like H3 headers or other parts looking weird, take a moment to check your browser's console logs. A small fix in your code can set everything back on track.
Audio matters just as much as visuals. Keep your sound alerts around -6 dB; this keeps them clear and stops any clipping during the big moments. Stick with common sound formats like MP3 or WAV so you don't end up with huge files or a drop in quality. Adjust your volumes so that the alerts pop without drowning out your commentary. Balancing these elements can really amp up the overall viewing experience, making every alert hit just right.
Testing and Troubleshooting Twitch Alerts in OBS
Start by hitting the test buttons on your Alert Box dashboard to see if your Twitch alerts fire up in OBS. The Test Follow, Test Subscription, Test Cheer, and Test Donation buttons let you mimic real alerts, much like warming up before a big game. This quick run-through makes sure every alert, from a new follower to a donation, is set up perfectly and ready to fire up your chat. It's a smart way to spot any setup mistakes before you go live.
If nothing pops up as expected, try some basic troubleshooting. Check for common slip-ups like a misspelled URL or old links in your Browser Source settings. Clearing OBS’s cache might also help by wiping out any stuck errors that block your alerts. And don’t forget to make sure your Browser Source is unlocked and that your browser supports the newest alert features. These simple steps help keep your stream as smooth as a perfectly executed game strategy.
Best Practices to Enhance Viewer Engagement with OBS Twitch Alerts

Make your channel look sharp and let every notification pack a punch. Stick with your signature colors and fonts so every alert feels like part of your own style. Use slick animations that hit just when you score big, like nailing a game goal or flipping a power-up (that's a special move). This perfect timing makes your alerts shine when the action is hottest. And remember, sometimes less is more, scale back on too many alerts to avoid viewer fatigue. For a deeper dive into how a consistent look boosts retention, check out the Stream Spotlight Impact on Streamer Branding.
Layer your sound cues with your visuals for a full-on sensory kick. Choose sound effects that clearly pop above the game noise so your fans know exactly when something cool happens. When your alert sounds stand apart from the usual game audio, they grab attention and invite everyone into the live vibe. Keep the volume balanced so each alert stands out without overwhelming the rest of your broadcast. This thoughtful audio setup gives your viewers a smooth, interactive experience that feels as epic as landing that perfect play.
Final Words
in the action, we broke down everything from connecting your alerts to OBS through step-by-step instructions to fine-tuning appearance and troubleshooting common snags. We covered customizing each alert type and using the OBS Sound Alerts plugin while balancing audio and visual cues. Through testing and quick fixes, your stream can now run smoother and keep viewers engaged. With these twitch alerts obs tips, your setup is ready to shine and boost your gameplay experience. Enjoy the ride and happy streaming!
FAQ
What does Twitch alerts OBS free mean?
Twitch alerts OBS free means you can integrate and use real-time Twitch notifications without any cost. Many streamers use free setups on OBS Studio, and discussions can be found on platforms like Reddit for extra tips.
How do I get my Twitch alerts on OBS?
Getting your Twitch alerts on OBS means logging into your Creator Dashboard, copying the Alert Box URL, and adding it as a new Browser Source in OBS Studio, which instantly displays notifications on your stream.
How do I turn down Twitch alerts in OBS?
Turning down Twitch alerts in OBS means lowering the volume in the alert settings or the OBS audio mixer. This helps balance your stream’s sound levels so the alerts don’t overpower your game audio.
How to set up Twitch alerts without OBS?
Setting up Twitch alerts without OBS means using platforms like Streamlabs or StreamElements. These services let you configure and display alerts over your stream, so you don’t need to use OBS for the setup.
How to make your own alerts for OBS?
Making your own alerts for OBS means customizing the Alert Box settings. You can upload unique images, set custom text, choose durations, and assign specific sounds to create an alert that fits your streaming style.